How to Migrate Files from FileLu to Other Cloud Services in 2026
A step-by-step guide to moving your data from FileLu to another cloud provider using efficient methods — ensuring minimal downtime and preserving data integrity.
Introduction
Cloud storage is rapidly evolving — if you're using FileLu and want to relocate your files to another cloud service, you’re in the right place. This tutorial walks you through a polished process to migrate your files securely and smoothly, using modern tools and best practices.
If you’ve been using FileLu as your primary cloud storage — whether for documents, media, backup snapshots or shared folders — you’re beginning from a solid base. FileLu supports web uploads, URL uploads, FTP/FTPS, WebDAV, CLI tools and even an API. :contentReference[oaicite:1]{index=1}
But circumstances change: you may find yourself looking for a different provider, featuring better geographic reach, a stronger ecosystem integration, or simply wanting the flexibility to switch. This guide walks you through relocating your files from FileLu to a new cloud-storage destination while preserving your folder structure, permissions and links.
While FileLu offers an impressive array of features — including “Secure-Solo-Cipher Encryption” (SSCE), large storage tiers and a rich set of upload tools. :contentReference[oaicite:2]{index=2}
- Integrations & ecosystem reach: Perhaps you’re using other cloud services, team workflows or apps which don’t align seamlessly with FileLu.
- Multiple platform consolidation: If you’re managing files across many clouds, consolidating or moving might reduce complexity and cost.
- Performance or support concerns: Some users report upload issues or downtime with FileLu. :contentReference[oaicite:3]{index=3}
Moving away doesn’t mean abandoning everything — it just means selecting a new home where your data sits in a place that better fits your current or future workflow.
Before starting the move from FileLu to another cloud service, a bit of preparation can save you hours later on. A few small checks and plans upfront will make the entire transfer smoother, safer, and more predictable. Here’s what to do before you begin:
- Review and Classify Your Data: Go through your existing FileLu storage and take stock of what’s really important. Separate essential files from older archives or temporary uploads that you no longer need. This selective approach reduces clutter and speeds up the migration process.
- Check File Compatibility: Each cloud platform supports slightly different file handling rules. Confirm that your target service fully supports the file types you store on FileLu—especially large media files, compressed archives, or encrypted backups—to prevent surprises after the move.
- Outline a Migration Plan: Decide whether you’ll transfer everything at once or in batches. Large projects may benefit from a staged migration, while smaller ones might complete in a single operation. Assess total file size, account limits, and network/API quotas when forming your plan.
- Secure and Protect Your Data: Apply encryption and enable two-factor authentication on both FileLu and the destination cloud. Tools like CloudsLinker handle encrypted cloud-to-cloud transfers without downloading files to your computer, reducing exposure and maintaining privacy throughout the process.
- Run a Pilot Transfer: Test with a small set of files first. Verify folder structure, timestamps, and access permissions after the test run. Fix any errors before launching the full migration to avoid large-scale data inconsistencies.
By taking these simple steps before migrating from FileLu, you can make the transition efficient and worry-free. A well-prepared plan not only prevents data loss but also helps you get up and running faster on your new cloud platform.
Here’s a recommended workflow using CloudsLinker and your chosen destination cloud:
- 1. Connect FileLu as source: In CloudsLinker, add FileLu and authorize it. The tool supports FileLu directly as a source. :contentReference[oaicite:5]{index=5}
- 2. Connect your destination cloud: Add the target cloud account (e.g., Dropbox, Google Drive, pCloud, etc.) and ensure it appears as “active”.
- 3. Configure the task: Choose whether you’ll “copy” (keep original in FileLu) or “move” (delete from FileLu after transfer). Set filters (by size, date, file-type) to avoid transferring unwanted items.
- 4. Preserve structure and schedule: Enable folder-hierarchy preservation so your new cloud mirrors the old. If you prefer, schedule it during off-peak hours so your workflow isn’t disrupted.
- 5. Execute and monitor: Kick off the transfer. Because it’s cloud–to–cloud, your local device doesn’t need to stay online the whole time. CloudsLinker handles the heavy lifting. :contentReference[oaicite:6]{index=6}
- 6. Verify completeness: After transfer completes, spot-check: Are folders intact? Are large files opening correctly? Do shares still point correctly (or have you recreated them)?
- 7. Update integrations & retire FileLu (if desired): Change any FTP/WebDAV endpoints originally pointing to FileLu. Once you’re satisfied everything works, you may archive or clean up your FileLu account.
In many cases, these steps can be completed in a few hours if your data volume is moderate — but allow extra time if you have tens or hundreds of gigabytes, or nested folder structures.

Step-by-Step Guide: Moving Your Files from FileLu to a New Cloud Platform
Why Use CloudsLinker for FileLu-to-Cloud Migration?
Unlike traditional desktop sync tools, CloudsLinker performs transfers entirely in the cloud, meaning your files move directly between FileLu and your target storage without consuming local bandwidth. This makes it ideal for users who store large datasets or wish to manage transfers remotely. With built-in automation and parallel connection handling, CloudsLinker ensures a faster, more reliable migration — all while maintaining your folder hierarchy and file integrity.
First, log in to CloudsLinker using your existing account or create a free one. In the “Add Cloud” section, select FileLu as the destination service. To complete authorization: go to the FileLu Account page, scroll down until you see the rclone key section,

copy your personal key. Return to CloudsLinker, paste the copied key into the setup field, and confirm. Once verified, FileLu will appear in your connected cloud list, ready for use.

Step 2: Add the Destination Cloud
Next, add your target cloud — such as Dropbox, Google Drive, Mega, or pCloud. Navigate again to the Add Cloud section, pick your preferred platform, and follow the on-screen OAuth authorization steps. Once completed, the destination will appear alongside FileLu in your cloud list within CloudsLinker.
Step 3: Configure the Transfer Task
Click the Transfer tab in CloudsLinker. Choose FileLu as the source and select your newly added cloud as the destination. You can customize your migration: choose between Copy (to retain files on FileLu) or Move (to delete them after transfer), filter by file size or extension, and enable folder-structure mirroring to preserve organization.

This configuration flexibility is one of the key differences compared to manual export methods — you remain in control while CloudsLinker handles the transfer in the background.
Step 4: Start and Monitor Your Migration
Once you start the task, the transfer will run entirely online, allowing you to log out or even shut down your computer. Visit the Tasks section in CloudsLinker to monitor progress in real time — status updates, transfer speed, and completion percentage are all displayed clearly.
Unlike the previous section’s staged pre-planning approach, this method focuses on automation: CloudsLinker intelligently queues, retries, and verifies transfers, ensuring continuity even if one service temporarily limits API requests.
Step 5: Confirm and Validate
After completion, check the target cloud to verify that all folders and files have been correctly migrated. Compare sample files between FileLu and your new cloud to confirm their integrity and timestamps. If everything checks out, you can safely clean up or archive your FileLu data.
With its direct cloud-to-cloud pipeline and intelligent automation, CloudsLinker offers a completely different experience from manual exports or sync clients. It’s the ideal solution for FileLu users who need fast, secure, and hands-off transfers to modern cloud platforms — without consuming a single byte of local bandwidth.
Frequently Asked Questions
Conclusion
Switching cloud services doesn’t need to be a complex project. With the right strategy and tools, you can move your content from FileLu to your new provider with confidence and clarity — ready to go live the next moment.
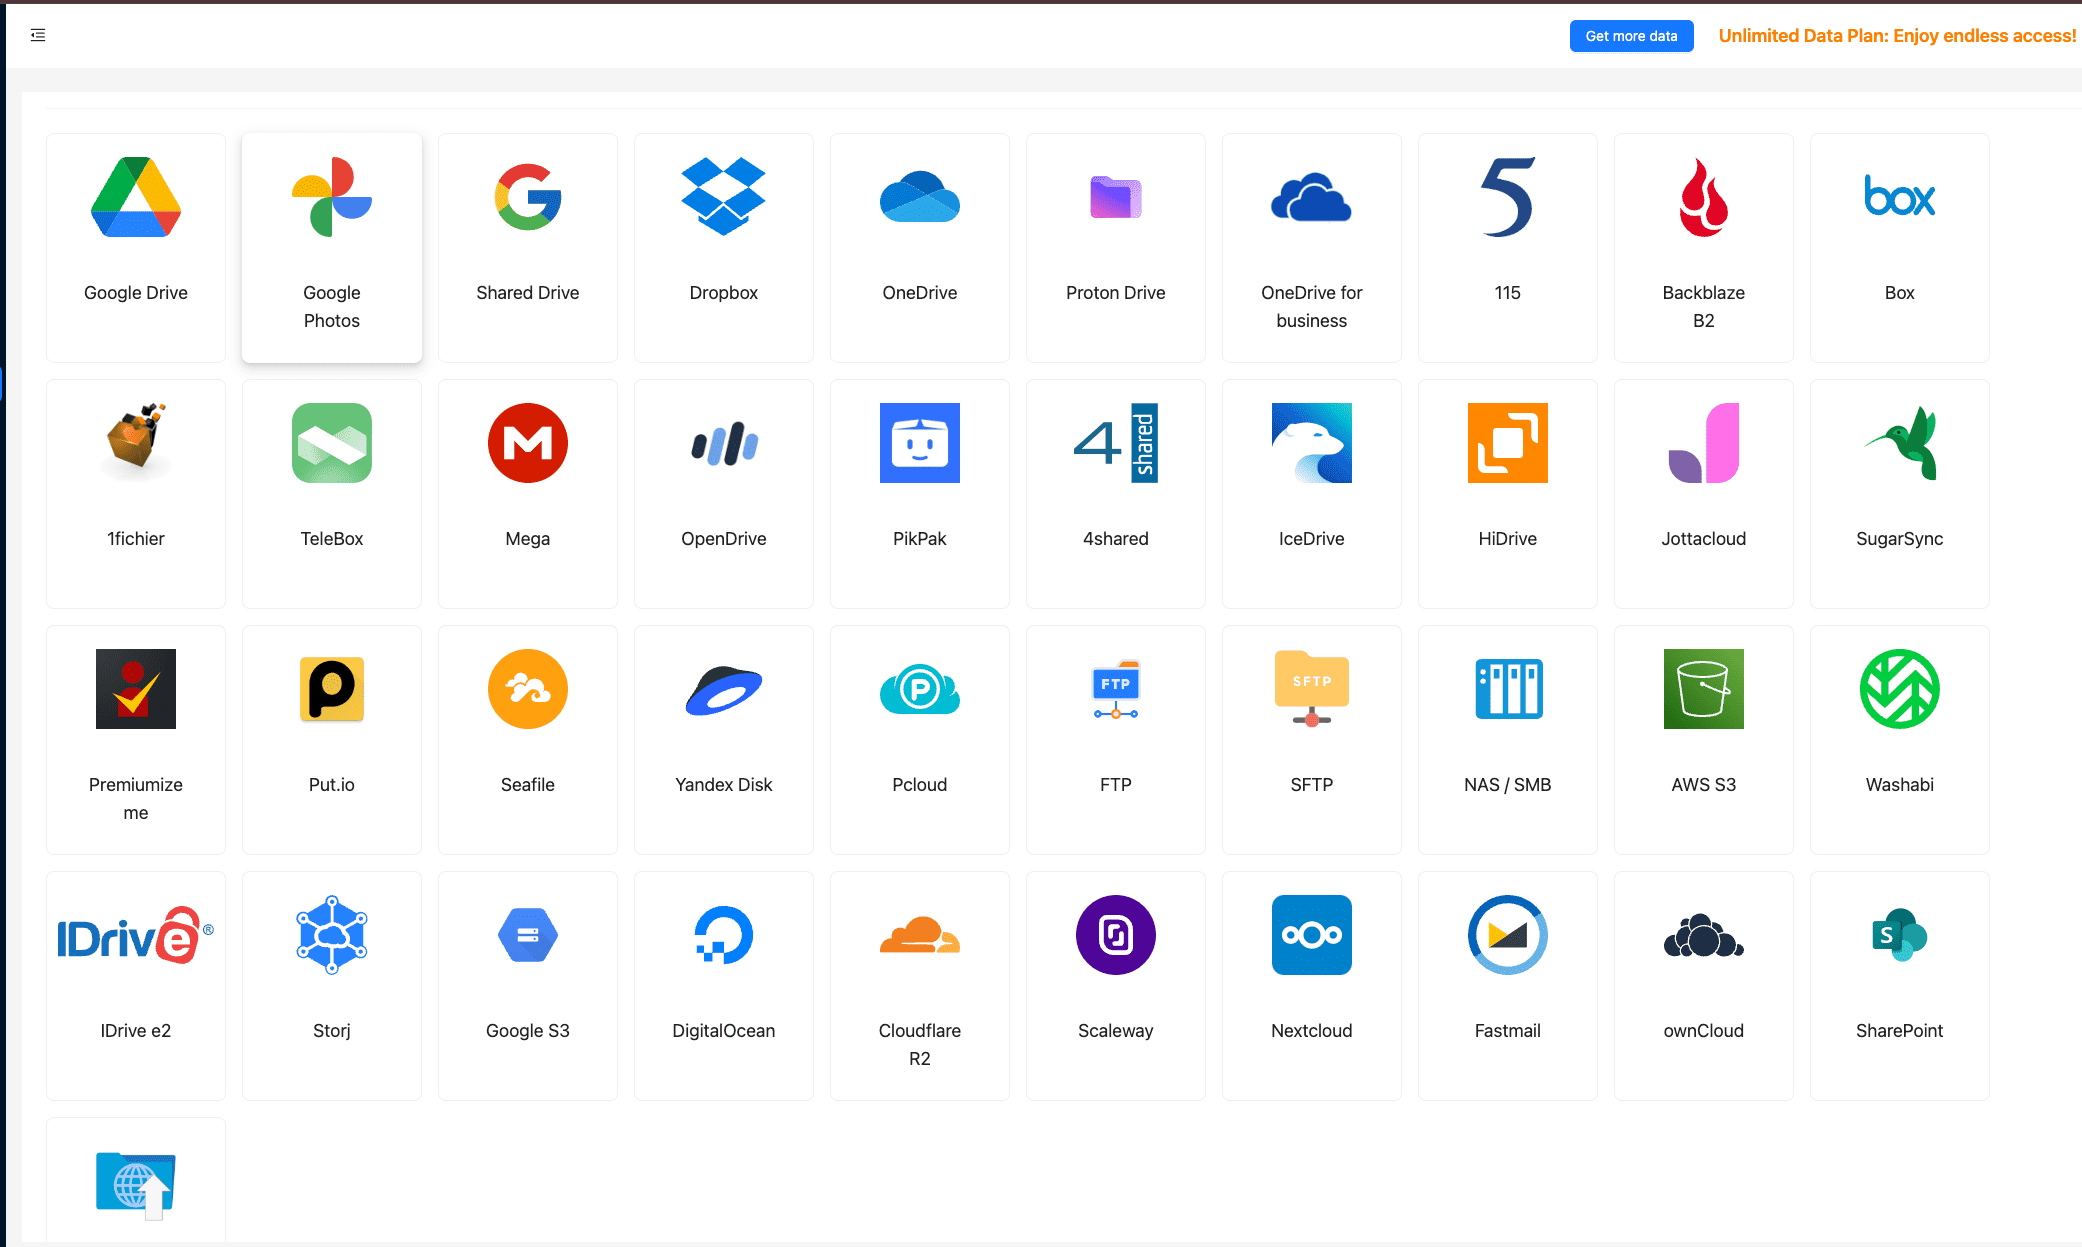
Online Storage Services Supported by CloudsLinker
Transfer data between over 48 cloud services with CloudsLinker

OneDrive

Google Drive

Google Photos

Shared Drive

OneDrive for Business

Dropbox

Box

Mega

pCloud

Yandex

ProtonDrive

AWS

GCS

iDrive

Storj

DigitalOcean

Wasabi

1fichier

PikPak

TeleBox

OpenDrive

Backblaze B2

Fastmail file

SharePoint

Nextcloud

ownCloud

Premiumize me

HiDrive

Put.io

Sugar Sync

Jottacloud

Seafile

Ftp

SFtp

NAS

WebDav

4shared

Icedrive

Cloudflare R2

Scaleway

Doi

iCloud Drive

iCloud Photos

FileLU

Zoho WorkDrive

Telia Cloud / Sky

Drime

Filen
Didn' t find your cloud service? Be free to contact: [email protected]
Further Reading
Effortless FTP connect to google drive: Transfer Files in 3 Easy Ways
Learn More >
Google Photos to OneDrive: 3 Innovative Transfer Strategies
Learn More >
Google Photos to Proton Drive: 3 Effective Transfer Techniques
Learn More >