Google Photos to Drime Transfer: 2 Ways to Migrate Your Photo Library to Private European Storage
Learn how to transfer photos from Google Photos to Drime using two methods: Google Takeout export or cloud-to-cloud transfer with CloudsLinker. Move your memories to privacy-focused European storage.
Introduction
Moving your photo library from Google Photos to Drime means shifting from Google's AI-powered organization to a privacy-first, European platform with end-to-end encryption. Whether you're running out of Google storage, concerned about data privacy, or want your photos in a space with GDPR compliance, this guide covers two practical approaches. You can use Google Takeout for a complete archive with full control, or use CloudsLinker for a hands-off cloud-to-cloud migration. Pick the method that matches your library size and technical comfort.
Google Photos is a photo and video storage service with powerful AI-based organization, search, and editing features. It automatically backs up photos from your phone, creates albums, recognizes faces, and lets you search by objects or locations. Storage counts against your Google One quota.
- AI organization: automatic albums, face recognition, smart search.
- Cross-device sync: backup from phones, tablets, and desktop.
- Built-in editing: filters, adjustments, and AI enhancements.
Drime is a European-built cloud workspace with end-to-end encryption. Unlike Google Photos, Drime cannot analyze, view, or process your images. It's designed for secure private storage with European data residency and GDPR compliance.
- End-to-end encryption: Drime cannot see your photos.
- Privacy-first: no AI scanning, no face recognition, no content analysis.
- European data residency: your photos stay in Europe.
Pick a Method in 30 Seconds
Google Takeout
Export your entire library with metadata. Best for one-time migrations when you want a local backup.
Cloud-to-Cloud
Direct transfer without local downloads. Fastest for large libraries.
Method 1: Google Takeout Export + Upload to Drime
Trade-off: can take hours/days for large libraries; requires local storage space.
Step 1: Request your Google Photos export
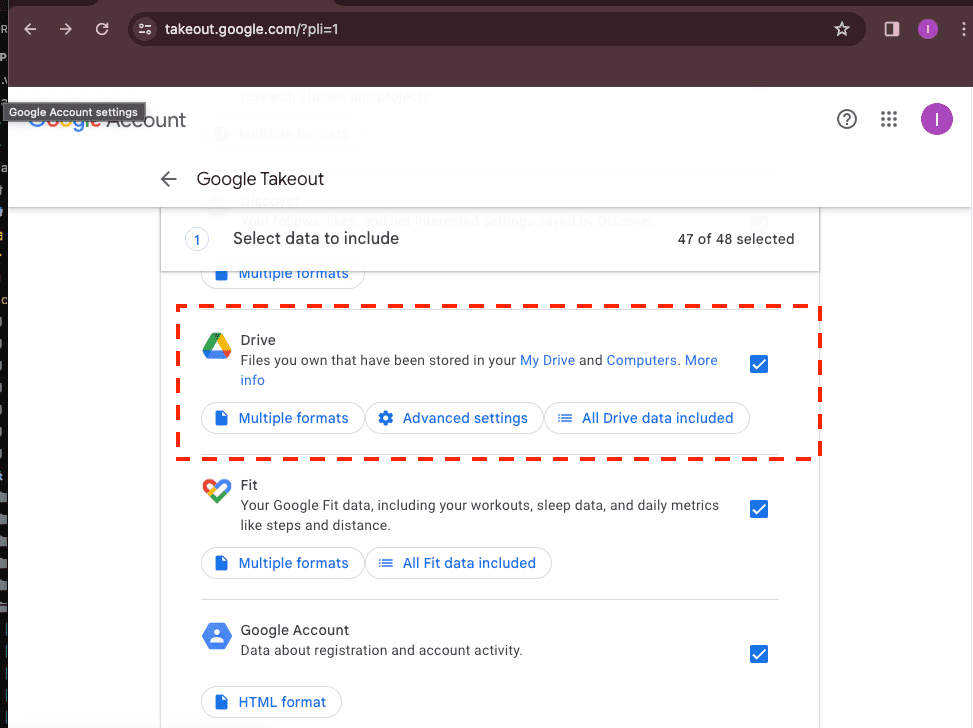
Go to Google Takeout and sign in. Click "Deselect all" first, then scroll down and check only Google Photos. Click "All photo albums included" to select specific albums, or leave it to export everything.
Choose your export format (ZIP is usually best), file size (larger sizes mean fewer files to download), and delivery method (direct download or to another cloud service temporarily).
Step 2: Download and extract the archives
Google will email you when the export is ready (this can take hours or days for large libraries). Download all the ZIP files and extract them. Your photos will be organized in folders by year/month or album name.
Note on metadata: Google Takeout includes JSON files with metadata (location, date, etc.). These won't display in Drime but are useful if you ever need that information.
Step 3: Organize and upload to Drime
Before uploading, organize your photos into the folder structure you want in Drime. You might want to create folders by year, event, or project.
Open the Drime web dashboard and upload your organized folders. Drag and drop files directly into the browser, or use Drime's file picker. For very large uploads, consider uploading in batches.
Method 2: Cloud-to-Cloud Transfer with CloudsLinker
Trade-off: requires authorizing third-party access to Google Photos.
CloudsLinker can connect directly to Google Photos and transfer your images to Drime without downloading them to your computer. This is the fastest option for large libraries.
How it works
- CloudsLinker opens Google Photos picker in a new window.
- Select photos/albums directly in Google Photos interface.
- Return to CloudsLinker, connect Drime, and start transfer.
Advantages
- No local storage required.
- Transfers run in the background.
- Preserves album organization.
Step-by-step setup
- Open CloudsLinker and create a new transfer task. Select Google Photos as the source.
- Authenticate through Google's OAuth flow. CloudsLinker will open the Google Photos picker interface in a new window.
- In the Google Photos picker: Browse your library, select the photos or albums you want to transfer. You can select individual photos, multiple albums, or your entire library. When done selecting, confirm your selection.
- Return to CloudsLinker. Your selected photos will appear as the transfer source.
- Add Drime as the destination. Generate an access token from Drime dashboard under Settings → Developer. Choose your destination folder structure.
- Start the transfer and monitor progress from the dashboard.
Recommended settings
- Transfer original quality photos, not compressed versions.
- Preserve album folder structure for organization.
- Enable "skip existing" to avoid duplicates on retry.
After the transfer
- Verify photo counts match between services.
- Spot-check a few albums for image quality.
- Keep the task saved for future incremental backups.

| Category | Google Photos | Drime |
|---|---|---|
| Privacy model | Google can analyze photos for AI features. | End-to-end encryption; Drime cannot see your photos. |
| Organization | AI-powered: face recognition, object search, auto-albums. | Manual folder organization. |
| Data residency | Data stored globally on Google infrastructure. | European data residency with GDPR compliance. |
| Best-fit use case | Users who want AI organization and easy sharing. | Users who prioritize privacy and European data control. |
Comparing the Two Methods
| Method | Ease of Use | Transfer Speed | Best Use Case | Local Bandwidth |
|---|---|---|---|---|
| Google Takeout + Upload | ★★★★☆ | ★★★☆☆ | One-time migration with local backup | Yes |
| CloudsLinker (Cloud-to-Cloud) | ★★★★★ | ★★★★★ | Large libraries, hands-off transfer | No |
Before You Start: Quick Prep Checklist
- Check your library size: View storage used in Google Photos settings to estimate how much Drime storage you'll need.
- Decide on organization: Plan your folder structure in Drime before migrating.
- Generate Drime token: Create a developer token in Settings → Developer before connecting tools.
- Clean up duplicates: Remove duplicate photos in Google Photos first to save transfer time.
- Consider videos: Videos take more space and time to transfer — plan accordingly.
- Test with one album: Migrate a single album first to verify the process works.
FAQ
Conclusion
The right Google Photos to Drime method depends on your library size and how much control you want. For smaller collections or when you want a local backup first, Google Takeout plus manual upload works well. For the fastest, most hands-off migration of large photo collections, CloudsLinker moves everything directly between clouds without tying up your local bandwidth. Always start with a test batch to confirm file organization before migrating your entire library.
Online Storage Services Supported by CloudsLinker
Transfer data between over 48 cloud services with CloudsLinker

OneDrive

Google Drive

Google Photos

Shared Drive

OneDrive for Business

Dropbox

Box

Mega

pCloud

Yandex

ProtonDrive

AWS

GCS

iDrive

Storj

DigitalOcean

Wasabi

1fichier

PikPak

TeleBox

OpenDrive

Backblaze B2

Fastmail file

SharePoint

Nextcloud

ownCloud

Premiumize me

HiDrive

Put.io

Sugar Sync

Jottacloud

Seafile

Ftp

SFtp

NAS

WebDav

4shared

Icedrive

Cloudflare R2

Scaleway

Doi

iCloud Drive

iCloud Photos

FileLU

Zoho WorkDrive

Telia Cloud / Sky

Drime

Filen
Didn' t find your cloud service? Be free to contact: [email protected]
Further Reading
Effortless FTP connect to google drive: Transfer Files in 3 Easy Ways
Learn More >
Google Photos to OneDrive: 3 Innovative Transfer Strategies
Learn More >
Google Photos to Proton Drive: 3 Effective Transfer Techniques
Learn More >