MEGA to Drime Transfer: 3 Practical Ways to Move Your Files Fast
Learn how to transfer files from MEGA to Drime with three proven methods: browser download/upload, desktop sync bridge, or a cloud-to-cloud transfer using CloudsLinker. Choose the fastest path for your data size and avoid re-upload hassles.
Introduction
If you're searching for a MEGA to Drime transfer, you're already past the decision phase. The real question is how to move your files without wasting hours on downloads, re-uploads, or broken folder structures. This guide gives you three clear options: a quick browser move for small folders, a desktop sync bridge for more control, and a fully cloud-based transfer with CloudsLinker for the fastest, hands-off migration. Pick the method that fits your data size and your patience level, then start with a small test folder before scaling up.
MEGA is known for client-side encryption and a simple folder-based experience. Its browser and desktop tools make it easy to upload, share, and manage large files. MEGA emphasizes end-to-end encryption and privacy focus.
- Privacy-oriented: client-side encryption is core to the platform.
- Large file friendly: designed for big archives and media libraries.
- Sharing built in: link-based access with optional keys.
Drime is a European-built cloud workspace that combines secure file storage with collaboration tools. It offers end-to-end encryption with European data residency and GDPR compliance, positioning itself as a privacy-focused workspace for teams and individuals.
- End-to-end encryption: files are protected throughout storage.
- European data residency: data stays in Europe with GDPR compliance.
- Collaboration features: shared workspaces, comments, and previews.
Pick a Method in 30 Seconds
Browser Transfer
Best for small moves or quick one-time transfers.
Desktop Sync Bridge
Great if you want visibility, pause/resume, and local verification.
Cloud-to-Cloud
Ideal for large libraries or limited local bandwidth.
Method 1: Download from MEGA, Upload to Drime (Browser)
Trade-off: your internet connection does the full download + upload loop.
Step 1: Download from MEGA in the web app
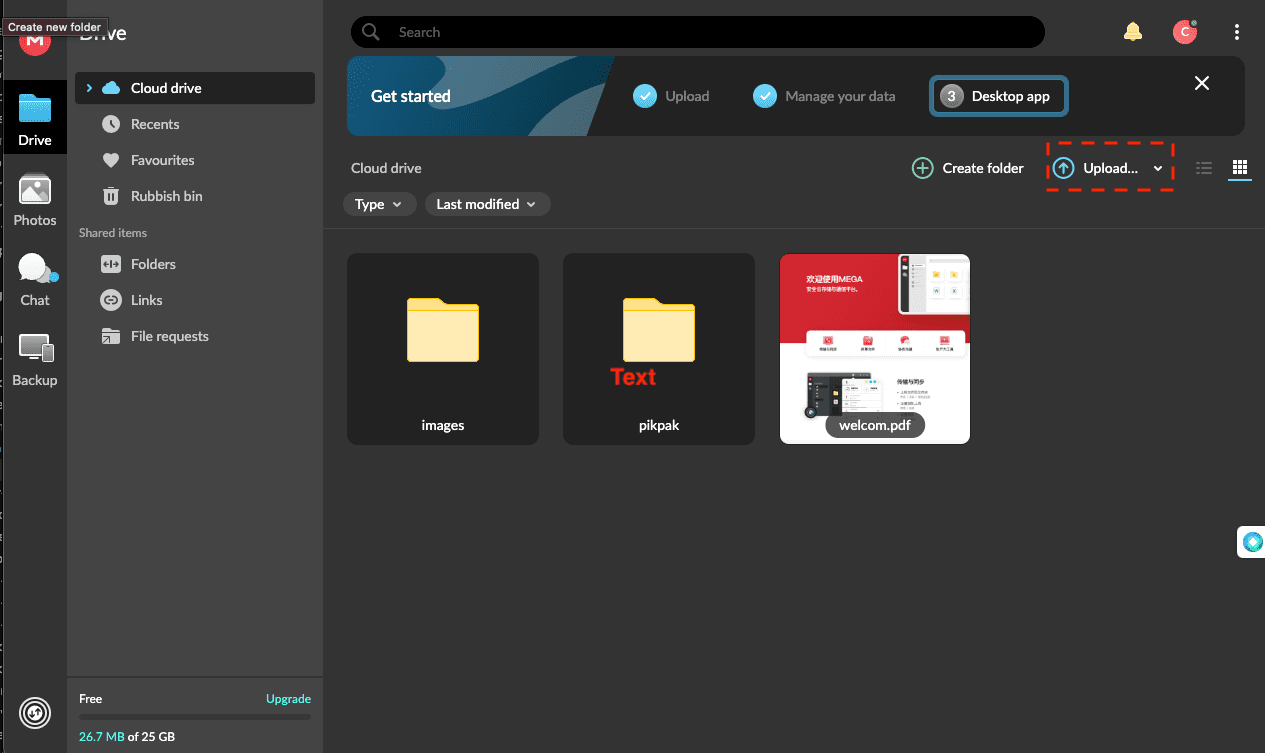
Open your MEGA account in a browser, select the files or folders you want, and use the download option. MEGA will often package folders into a ZIP file for convenience.
If the download is large, consider splitting it into a few smaller batches. This makes it easier to resume if something fails and keeps your local disk from filling up unexpectedly.
Step 2: Unzip and verify locally
If MEGA delivered a ZIP, extract it to a clean folder and make sure the structure looks right. This is the best moment to rename top-level folders or remove anything you no longer want.
Step 3: Upload into Drime
Log in to the Drime web dashboard, create a destination folder, and upload the files you just downloaded. For large folders, drag-and-drop is usually faster than selecting files one by one.
Keep the browser tab open until the upload finishes. If you need to pause, stop at a clean boundary (one folder fully uploaded) so you can easily resume without duplicates.
This route is straightforward, but it's also the most bandwidth-heavy. If your MEGA archive is large, consider one of the next two methods to avoid running long uploads from your laptop.
Method 2: Desktop Sync Bridge (MEGA App + Drime Desktop)
Trade-off: requires local disk space and time for syncing.
Think of this method as a two-leg bridge. You sync from MEGA down to a local folder using MEGA's desktop app, then sync that local folder up to Drime using the Drime desktop client.
- Create a dedicated local folder (for example, "MEGA-to-Drime") so the transfer has a clean workspace.
- Install the MEGA desktop app and enable sync only for the folders you plan to migrate. Avoid syncing your entire MEGA drive if you don't need it.
- Wait for the MEGA download to fully finish. Large folders may take a while, so verify that the local size and file count look reasonable.
- Install Drime's desktop client and set up a sync task that uploads that same local folder to a dedicated destination folder in Drime.
- Let Drime upload the contents. Once verified, you can disconnect the MEGA sync to free disk space.
When this method shines
- You want to see files locally before they land in Drime.
- You need a pause/resume option without restarting the whole job.
- You plan to clean or reorganize folders mid-transfer.
Common mistakes to avoid
- Syncing too many folders at once and running out of disk space.
- Pointing Drime sync to the MEGA app's cache instead of the real folder.
- Renaming the local folder while a sync is still running.
Method 3: Cloud-to-Cloud Transfer with CloudsLinker
Trade-off: you're relying on a third-party transfer service.
If you want the migration to run online without tying up your computer, a cloud-to-cloud tool like CloudsLinker can connect MEGA and Drime and move data directly between them. This is the best choice if your data is large, your upload speed is limited, or you want the transfer to keep running while your computer is off.
How it typically works
- Connect your MEGA account as the source.
- Connect your Drime account as the destination.
- Pick the folders to transfer and launch the job.
Why people choose it
- No local download or re-upload cycle.
- Transfers keep running even if your device is off.
- Good for large, multi-folder migrations.
Step-by-step setup
- Open CloudsLinker and start a new transfer task. Choose MEGA as the source and Drime as the destination.
- Authenticate each account. Grant access only to the folders you need to move, not your entire drive, if you want tighter control.
- Add Drime as the destination. Generate an access token from the Drime dashboard under Settings → Developer.
- Select the exact source folders in MEGA and the target folder in Drime. For clean organization, create a dedicated destination folder in Drime first.
- Review transfer options. If the interface offers choices like "skip existing files" or "overwrite," pick the one that matches your intent. For first-time migrations, skip existing files is often the safer option.
- Start the transfer and keep an eye on the job status page. Most services provide progress, file counts, and error logs that help confirm everything is moving correctly.
Recommended transfer settings
- Use "skip existing" on the first run to avoid duplicates.
- Enable verification or checksums if the tool provides it.
- Keep transfer concurrency modest if you notice throttling.
After the transfer
- Spot-check a few folders in Drime to confirm file counts.
- Review any error log and re-run only the failed items.
- Keep the task saved so you can re-run an incremental sync later.

| Category | MEGA | Drime |
|---|---|---|
| Security model | End-to-end encryption with client-side keys. | End-to-end encryption with European data residency. |
| Primary focus | Large file storage and sharing with strong privacy. | Privacy-first collaboration and secure workspace. |
| Data residency | New Zealand-based infrastructure. | European data centers with GDPR compliance. |
| Best-fit use case | Sharing and storing big files securely. | Teams wanting European data control and collaboration. |
Before You Start: Quick Prep Checklist
- Generate a Drime developer token from Settings → Developer before connecting transfer tools.
- Organize your MEGA folders so the transfer mirrors the structure you want in Drime.
- Run a small test transfer first to confirm naming, permissions, and file integrity.
- If you use the desktop sync bridge, make sure you have enough local disk space for the temporary copy.
- If you use cloud-to-cloud, decide whether you want a one-time move or a repeatable sync. This choice affects whether you keep the transfer task saved for later runs.
- Consider cleaning up duplicates or old exports in MEGA before migration to reduce transfer time.
FAQ
Watch Our Step-by-Step Video Tutorial
Learn how to transfer files from MEGA to Drime with our clear, visual walkthrough. This tutorial is perfect for anyone—whether you're new to cloud storage or just looking for the easiest method. We’ll guide you through every step, from accessing your files in MEGA to migrating them to Drime using Cloudslinker for a fast and secure cloud-to-cloud transfer. Get expert tips, avoid common mistakes, and simplify your cloud migration process. Watch now and move your files with confidence!
Conclusion
The best MEGA to Drime transfer method depends on your data size and how involved you want to be. If you're moving a few folders, the browser route is simple. If you want visibility and control, use the desktop sync bridge. And if you want the fastest, most hands-off option, use a cloud-to-cloud transfer with CloudsLinker and let the job run online. Start small, confirm the structure, then move the rest with confidence.
Online Storage Services Supported by CloudsLinker
Transfer data between over 48 cloud services with CloudsLinker

OneDrive

Google Drive

Google Photos

Shared Drive

OneDrive for Business

Dropbox

Box

Mega

pCloud

Yandex

ProtonDrive

AWS

GCS

iDrive

Storj

DigitalOcean

Wasabi

1fichier

PikPak

TeleBox

OpenDrive

Backblaze B2

Fastmail file

SharePoint

Nextcloud

ownCloud

Premiumize me

HiDrive

Put.io

Sugar Sync

Jottacloud

Seafile

Ftp

SFtp

NAS

WebDav

4shared

Icedrive

Cloudflare R2

Scaleway

Doi

iCloud Drive

iCloud Photos

FileLU

Zoho WorkDrive

Telia Cloud / Sky

Drime

Filen
Didn' t find your cloud service? Be free to contact: [email protected]
Further Reading
Effortless FTP connect to google drive: Transfer Files in 3 Easy Ways
Learn More >
Google Photos to OneDrive: 3 Innovative Transfer Strategies
Learn More >
Google Photos to Proton Drive: 3 Effective Transfer Techniques
Learn More >