Transfer Files from OneDrive to SharePoint for Centralized Team Document Management
Three methods to move files from OneDrive to SharePoint, including the built-in Move to feature, SharePoint Migration Tool, and CloudsLinker cloud transfer.
Introduction
SharePoint organizes files into site-level document libraries with permission inheritance, metadata columns, and retention policies — capabilities that personal OneDrive storage does not provide. For teams operating within Microsoft 365, SharePoint serves as the centralized layer where documents are governed, classified, and shared under consistent rules rather than scattered across individual accounts. When a project outgrows a single person's OneDrive folder, or when compliance requirements demand structured document management, migrating files to SharePoint becomes a practical next step. The three methods below cover built-in Microsoft tools, a dedicated migration utility, and a cloud-to-cloud transfer service.
OneDrive is Microsoft's personal cloud storage service, included with every Microsoft 365 subscription. It is designed for individual file storage, syncing documents across devices, and sharing files on a per-person basis.
- Personal storage: Each user gets their own drive (typically 5 GB free or 1 TB with Microsoft 365).
- Windows integration: Built into File Explorer on Windows 10 and 11 for seamless local access.
- Office co-authoring: Real-time editing in Word, Excel, and PowerPoint directly from OneDrive.
- Personal Vault: An extra-security folder requiring identity verification for sensitive files.
- Version history: Restore previous file versions for up to 30 days.
Microsoft SharePoint is a site-based document management and collaboration platform within Microsoft 365. Unlike OneDrive's per-user model, SharePoint stores files in shared document libraries tied to team sites or communication sites, with centralized governance controls.
- Document libraries: Files live in structured libraries with metadata columns, views, and content types.
- Permission inheritance: Permissions cascade from site to library to folder, with the ability to break inheritance where needed.
- Metadata and classification: Custom columns, managed metadata, and content types allow tagging and filtering beyond simple folder hierarchies.
- Retention policies: Automated document lifecycle management for compliance and records management.
- Power Automate integration: Trigger workflows on file upload, approval, or status change without custom code.
Both OneDrive and SharePoint are part of Microsoft 365 and share the same underlying storage infrastructure. The distinction lies in how they organize access and governance. OneDrive is a personal workspace; SharePoint is a team workspace with document management features.
| Feature | OneDrive | SharePoint |
|---|---|---|
| Purpose | Personal file storage and sync | Team document management and collaboration |
| Storage Model | Per-user drive (1 TB typical with M365 Business) | Per-site library (1 TB base + 10 GB per licensed user for the tenant) |
| Permissions | Owner shares individual files or folders via link | Site-level permissions with inheritance through libraries, folders, and items |
| Metadata | File name and basic properties only | Custom columns, managed metadata, content types, and views |
| Versioning | Up to 30 days of version history | Configurable major/minor versioning with check-in/check-out |
| Compliance | Basic retention via OneDrive admin settings | Retention labels, records management, eDiscovery, and DLP policies |
| Best Fit | Individual users storing personal work files | Teams needing centralized document governance and structured collaboration |
OneDrive and SharePoint coexist within the same Microsoft 365 tenant, but they serve different purposes. Personal OneDrive folders work well for individual draft work. Once documents need to be accessed, governed, or processed by a team, SharePoint provides the structure that personal storage lacks.
- Centralized team libraries: SharePoint document libraries give every team member access to the same set of files through a single site, replacing the pattern of individuals sharing links from scattered OneDrive folders.
- Metadata columns for classification: SharePoint libraries support custom columns (e.g., Department, Status, Contract Type) that make it possible to filter and group documents without relying solely on folder names.
- Retention policies and records management: Microsoft 365 retention labels apply at the SharePoint library or folder level, automating document lifecycle rules that personal OneDrive storage does not support in the same way.
- Power Automate workflows: Files uploaded to a SharePoint library can trigger automated workflows — approval chains, notification emails, status updates — without writing custom code or installing third-party tools.
- Site-level permissions: Instead of managing sharing links per file in OneDrive, SharePoint permissions inherit from the site down through libraries and folders, making it simpler to control access for entire teams or departments.
The methods below cover three approaches to moving files from OneDrive into a SharePoint document library, ranging from a built-in browser feature to dedicated migration tools.
Identify the target SharePoint site and document library.
Open your SharePoint site (e.g., https://contoso.sharepoint.com/sites/marketing)
and navigate to the document library where files should land. If no suitable library exists,
create one from the site's Site contents page.
Check document library limits. A single SharePoint library supports up to 30 million items, but performance recommendations suggest keeping views under 5,000 items using indexed columns. Individual files can be up to 250 GB. Verify that the site's storage quota has enough room for the incoming data.
Plan your folder structure. Decide whether to replicate the existing OneDrive folder hierarchy or reorganize files into a flatter structure that takes advantage of SharePoint metadata columns. A flat library with metadata-based views is often easier to maintain than deeply nested folders.
Verify site permissions. Confirm that your account has at least Edit or Contribute permissions on the target document library. Site owners and members typically have this by default. If you are migrating on behalf of another team, ask the site owner to grant access before starting.
Method 1: Move Files via OneDrive Web Interface
OneDrive for Business includes a built-in Move to command that can send files directly to a SharePoint document library within the same Microsoft 365 tenant. This works without downloading anything to your local machine.
Step 1: Select Files in OneDrive
Open OneDrive in your browser and sign in with your work or school account. Navigate to the folder containing the files you want to move. Select individual files using the checkbox next to each item, or select an entire folder.
Step 2: Use "Move to" and Choose a SharePoint Site
With files selected, click Move to in the toolbar (or right-click and select Move to from the context menu). In the destination picker, look for your SharePoint sites listed under your organization's name. Select the target site, then choose the document library and folder where files should go.

Step 3: Confirm and Wait
Click Move to start the transfer. OneDrive moves files server-side within Microsoft 365, so the operation does not depend on your local bandwidth. A progress indicator appears in the notification area. Once complete, the files disappear from your OneDrive and appear in the SharePoint library.
This method works well for small to medium transfers where you want to stay entirely within the browser. It requires that both your OneDrive and the target SharePoint site belong to the same Microsoft 365 tenant.
Method 2: SharePoint Migration Tool (SPMT)
Microsoft provides the SharePoint Migration Tool (SPMT) as a free desktop application for migrating content into SharePoint Online and OneDrive for Business. It is designed for IT administrators handling bulk migrations with detailed logging and scheduling.
Step 1: Download and Install SPMT
Download SPMT from the Microsoft documentation page. The tool runs on Windows only. Install it and sign in with a Microsoft 365 account that has at least Site Collection Administrator permissions on the target SharePoint site.

Step 2: Configure the Migration Source
SPMT supports several source types: local file shares, SharePoint Server on-premises, and
JSON/CSV-based bulk specifications. To migrate files that are already synced locally from
OneDrive, point SPMT at the local OneDrive sync folder on your Windows machine (typically
C:\Users\<username>\OneDrive).
Alternatively, export the files you need from OneDrive to a local folder first, then use that folder as the SPMT source. Select the specific folders or files to include in the migration task.
Step 3: Set the SharePoint Destination
Enter the destination SharePoint site URL and select the target document library. SPMT lets you map source folders to specific library paths. You can also configure settings such as whether to preserve file timestamps, skip duplicate files, or migrate version history.
Step 4: Run the Migration
Review the migration summary and click Migrate. SPMT uploads files to SharePoint and generates a detailed report listing successes, skipped items, and errors. The report is saved locally and can also be viewed in the tool's dashboard.
SPMT is the right choice for large-scale migrations involving thousands of files, especially when you need audit logs and the ability to schedule migration windows. It requires a Windows machine and some familiarity with SharePoint administration.
Method 3: Cloud-to-Cloud Transfer with CloudsLinker
Cloud-to-Cloud Transfer Without Local Downloads
CloudsLinker transfers files directly between OneDrive and SharePoint servers without routing data through your local machine. The process continues even if you close your browser or shut down your computer.
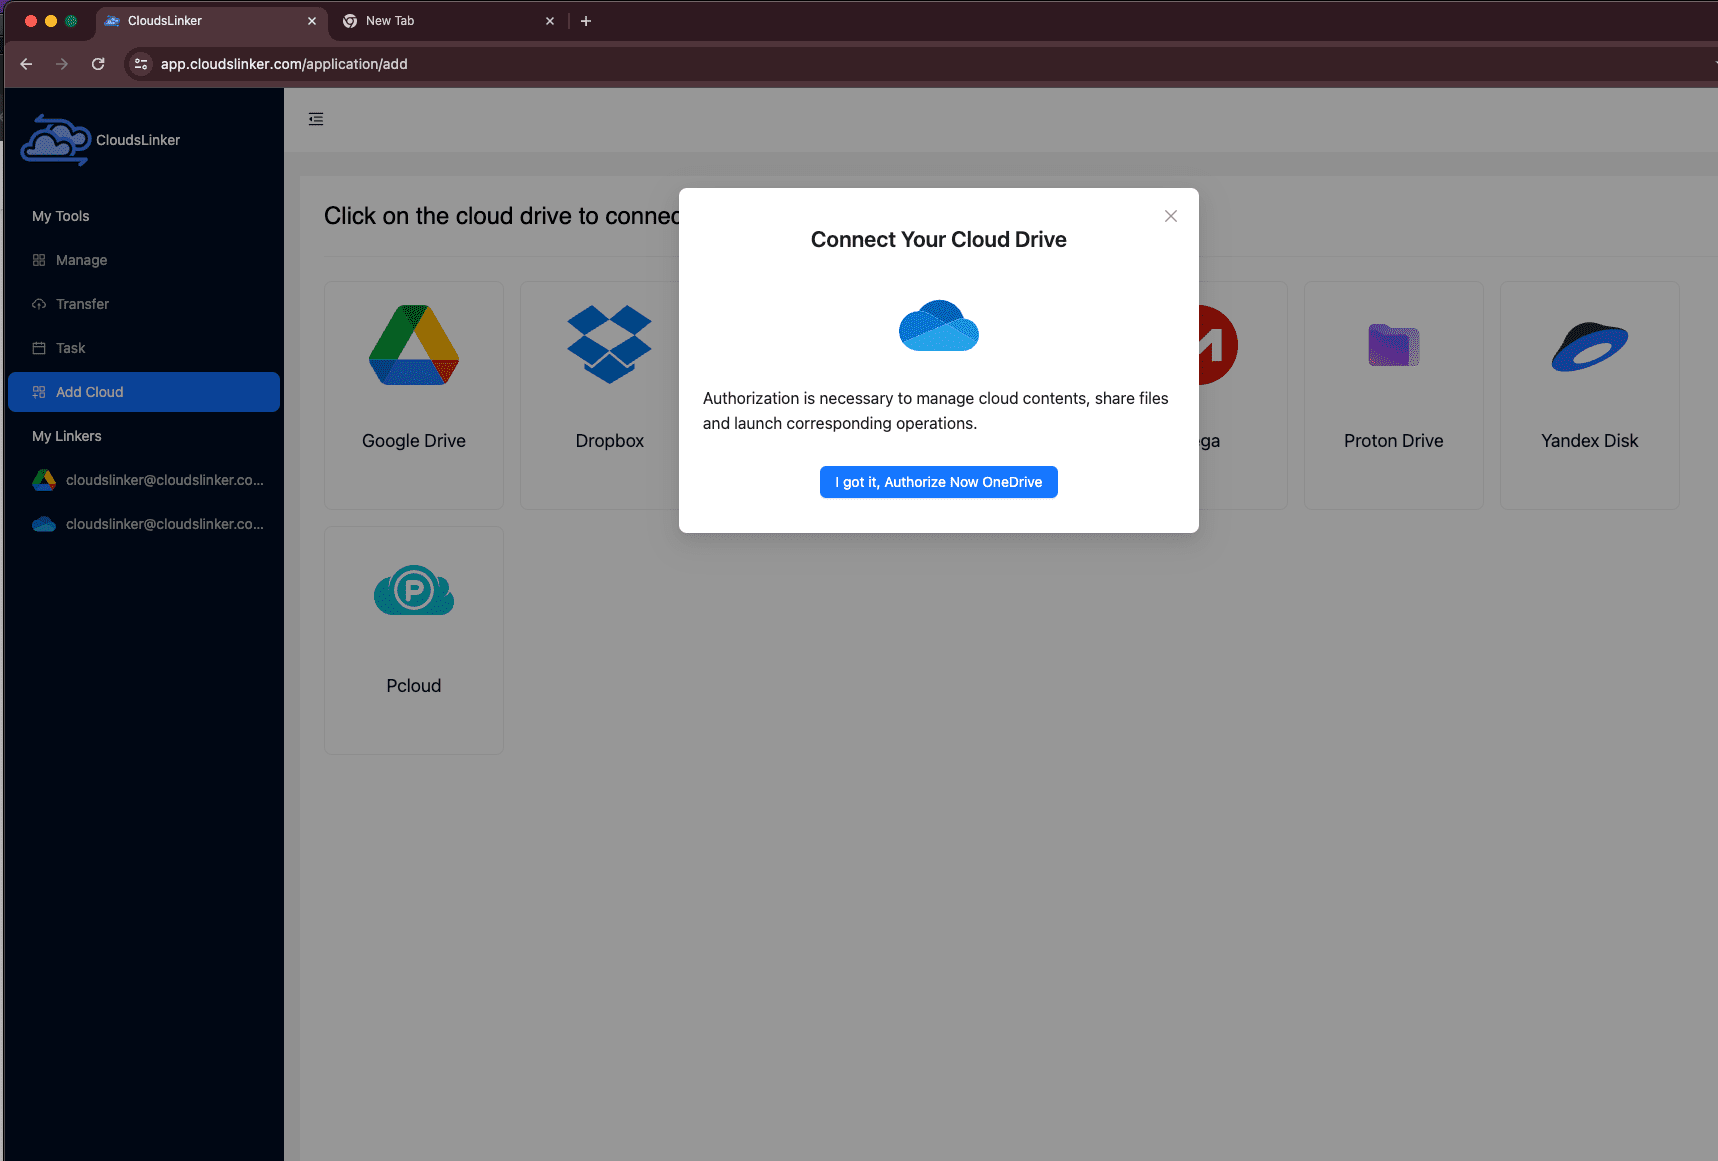
Step 1: Connect OneDrive
Sign in to CloudsLinker and click Add Cloud. Select OneDrive from the provider list. Your browser redirects to Microsoft's authorization page. Sign in with your Microsoft account and approve access. If your account includes multiple drives, select the specific drive resource you want to use after authorization completes.
Step 2: Connect SharePoint
Click Add Cloud again and select SharePoint. CloudsLinker
will prompt you to enter the site path for your SharePoint site — for example,
/sites/contoso or /teams/marketing. After entering the site
path, your browser redirects to Microsoft's OAuth page. Sign in and authorize access.
Once authentication completes, you return to CloudsLinker. The tool then lists the document libraries available on that SharePoint site. Select the target document library where transferred files should be stored.

Step 3: Configure the Transfer
Open the Transfer section. Select your connected OneDrive as the source and browse to the files or folders you want to migrate. On the destination side, select the SharePoint connection and choose the folder within the document library.
CloudsLinker supports file filtering by type or modification date, and offers both Copy and Move modes. Copy mode leaves the originals in OneDrive; Move mode deletes them from OneDrive after successful transfer.

Step 4: Start and Monitor the Transfer
Click start. Track progress from the Task List, which shows transferred size, current speed, and remaining items. The transfer runs entirely on CloudsLinker's servers, so your local device does not need to stay online.
After the transfer finishes, open the SharePoint document library and verify that folders and files have arrived in the expected location. Check that the folder structure matches what you intended.
Transferring Between Other Clouds?
CloudsLinker also supports Google Drive, Dropbox, Box, iCloud Drive, S3-compatible storage, WebDAV servers, and many other services. All transfers run cloud-to-cloud without consuming local bandwidth.
Comparing the Three Methods
| Method | Ease of Use | Scale | Best For | Requires Local Machine | Skill Level |
|---|---|---|---|---|---|
| OneDrive Move To | ★★★★★ | ★★☆☆☆ | Small ad-hoc transfers within the same tenant | No (browser only) | Beginner |
| SharePoint Migration Tool | ★★★☆☆ | ★★★★★ | Bulk enterprise migrations with audit logging | Yes (Windows desktop app) | IT Admin |
| CloudsLinker (Cloud-to-Cloud) | ★★★★★ | ★★★★☆ | Browser-based transfers without installing software | No | Beginner |
-
Check file name character limits:
SharePoint restricts certain characters in file and folder names (e.g.,
# % * : < > ? / \ |) and enforces a 400-character path limit. Rename any files that violate these rules before migrating to avoid upload failures. - Handle OneNote notebooks separately: OneNote notebooks stored in OneDrive use a proprietary sync format. Moving them via file copy may break syncing. Instead, use OneNote's built-in Move Notebook option to relocate them to a SharePoint library.
- Metadata does not transfer automatically: If your SharePoint library uses custom columns (e.g., Department, Document Type), files moved from OneDrive will arrive without those column values populated. Plan time to tag documents after migration, or use a Power Automate flow to assign default values.
- Test permissions after migration: Files in OneDrive may have individual sharing links that do not carry over to SharePoint. After moving files, verify that the correct users and groups have access through the library's permission settings.
- Consider column metadata post-migration: A flat library with metadata views often works better than replicating a deep folder structure from OneDrive. After migration, consider adding columns for filtering and grouping instead of relying on nested folders.
- Check the site storage quota: Each SharePoint site has a storage quota set by the tenant administrator (default is 25 TB per site). Verify that the target site has sufficient remaining capacity before starting a large migration. Site storage usage is visible in Site Settings > Storage Metrics.
Frequently Asked Questions
Conclusion
Each method addresses a different scale and workflow. The built-in Move to feature handles small, ad-hoc transfers without leaving the OneDrive interface. The SharePoint Migration Tool suits IT administrators running bulk migrations with logging and scheduling. CloudsLinker fills the gap for users who want a browser-based, cloud-to-cloud transfer without installing software or running PowerShell. Regardless of the method, verifying permissions and folder structure on the target SharePoint site before starting saves time on cleanup afterward.
Online Storage Services Supported by CloudsLinker
Transfer data between over 48 cloud services with CloudsLinker

OneDrive

Google Drive

Google Photos

Shared Drive

OneDrive for Business

Dropbox

Box

Mega

pCloud

Yandex

ProtonDrive

AWS

GCS

iDrive

Storj

DigitalOcean

Wasabi

1fichier

PikPak

TeleBox

OpenDrive

Backblaze B2

Fastmail file

SharePoint

Nextcloud

ownCloud

Premiumize me

HiDrive

Put.io

Sugar Sync

Jottacloud

Seafile

Ftp

SFtp

NAS

WebDav

4shared

Icedrive

Cloudflare R2

Scaleway

Doi

iCloud Drive

iCloud Photos

FileLU

Zoho WorkDrive

Telia Cloud / Sky

Drime

Filen
Didn' t find your cloud service? Be free to contact: [email protected]
Further Reading
Effortless FTP connect to google drive: Transfer Files in 3 Easy Ways
Learn More >
Google Photos to OneDrive: 3 Innovative Transfer Strategies
Learn More >
Google Photos to Proton Drive: 3 Effective Transfer Techniques
Learn More >