Moving from pCloud to SharePoint: 3 Reliable Ways to Transfer Your Files
Shifting files from pCloud to Microsoft SharePoint can feel trickier than expected. The two platforms are built for different purposes, and once large folders, company archives, shared directories, and storage limits get involved, the process can quickly become slow or inconvenient. This guide looks at three practical solutions that people actually use: downloading and uploading files manually through the browser, setting up an automated transfer with rclone, or using CloudsLinker to move data directly between pCloud and SharePoint without relying on your local machine.
Introduction
pCloud has built its reputation on dependable cloud storage, attractive lifetime plans, and security features such as client-side encryption (available through pCloud Crypto), making it a popular choice among freelancers, small businesses, and personal users. SharePoint, meanwhile, sits at the core of Microsoft 365, functioning as a structured document hub that supports versioning, permissions, collaboration, and integration with Teams and OneDrive. When organizations or individuals decide to move their files from pCloud to SharePoint, it is usually driven by a shift toward centralized document governance, company policy requirements, or the need to place files inside a collaborative corporate workspace. Since there is no built-in migration bridge between the two services, users must rely on alternative methods. In real-world scenarios, transfers are generally handled through one of three approaches: downloading files from pCloud and uploading them into SharePoint using the web interface, automating the move with command-line tools like rclone, or using a cloud-to-cloud migration service such as CloudsLinker to perform the transfer online without consuming local bandwidth. For reference, you can review the official resources from both platforms — see the latest pCloud feature overview and Microsoft’s official SharePoint collaboration guide — to better understand how your data environment will change after migration.
pCloud is a popular cloud storage platform known for its reliability, lifetime storage plans, and strong focus on file management flexibility. Depending on the plan, users can also benefit from client-side encryption through pCloud Crypto, keeping confidential files protected.
- Optional client-side encryption: Sensitive files can be encrypted locally before upload.
- Familiar folder-style storage: Works much like a traditional drive structure.
- Good performance with large files: Suitable for media, archives, and backups.
- Convenient sharing tools: Public links, access control, and branded download pages.
- Cross-platform support: Accessible via web, desktop apps, and mobile devices.
Microsoft SharePoint is part of the Microsoft 365 ecosystem and is designed more as a collaborative document platform than a simple cloud drive. Files are organized inside sites and document libraries, enabling structured teamwork and centralized management.
- Structured organization: Content sits inside sites and libraries rather than loose folders.
- Deep Microsoft 365 integration: Works naturally with Teams, OneDrive, Excel, Word and more.
- Flexible permission controls: Manage access by user, group, site, or individual file.
- Built-in versioning: Keep track of edits and restore older versions when needed.
- Enterprise-grade compliance: Governance, retention, and policy features help meet business standards.
Before moving files from pCloud to SharePoint, it is worth understanding how differently the two platforms are built. pCloud behaves much like a personal or business storage drive, while SharePoint is designed around structured collaboration in a corporate environment.
| Aspect | pCloud | Microsoft SharePoint |
|---|---|---|
| Primary Focus | Cloud storage and secure file keeping | Team collaboration and document management |
| Storage Structure | Traditional folder hierarchy | Sites and document libraries |
| Security Model | Optional client-side encryption (pCloud Crypto) | Enterprise security and compliance tools |
| Integration | Standalone cloud storage platform | Tightly integrated within Microsoft 365 |
| Typical Use Case | Personal users, freelancers, and small businesses | Departments, teams, and organization-wide deployment |
In short, pCloud feels like a secure and convenient online hard drive, whereas SharePoint functions more like a digital workspace for teams. Understanding this difference helps clarify why many users eventually decide to migrate.
Before you start transferring files from pCloud to SharePoint, take a moment to review your folder layout. pCloud’s straightforward hierarchy doesn’t directly match SharePoint’s site and library structure, so deciding in advance where everything should go can save time later.
Also ensure that you have the correct upload permissions in your SharePoint destination. Access is governed by Microsoft 365 roles and site rules, so insufficient rights can interrupt the migration or place files in unintended locations.
Finally, think about the scale of your move. Smaller sets of files can be handled manually, while large migrations usually benefit from automation or a cloud-to-cloud tool that avoids consuming local storage or requiring a browser to stay open throughout the process.
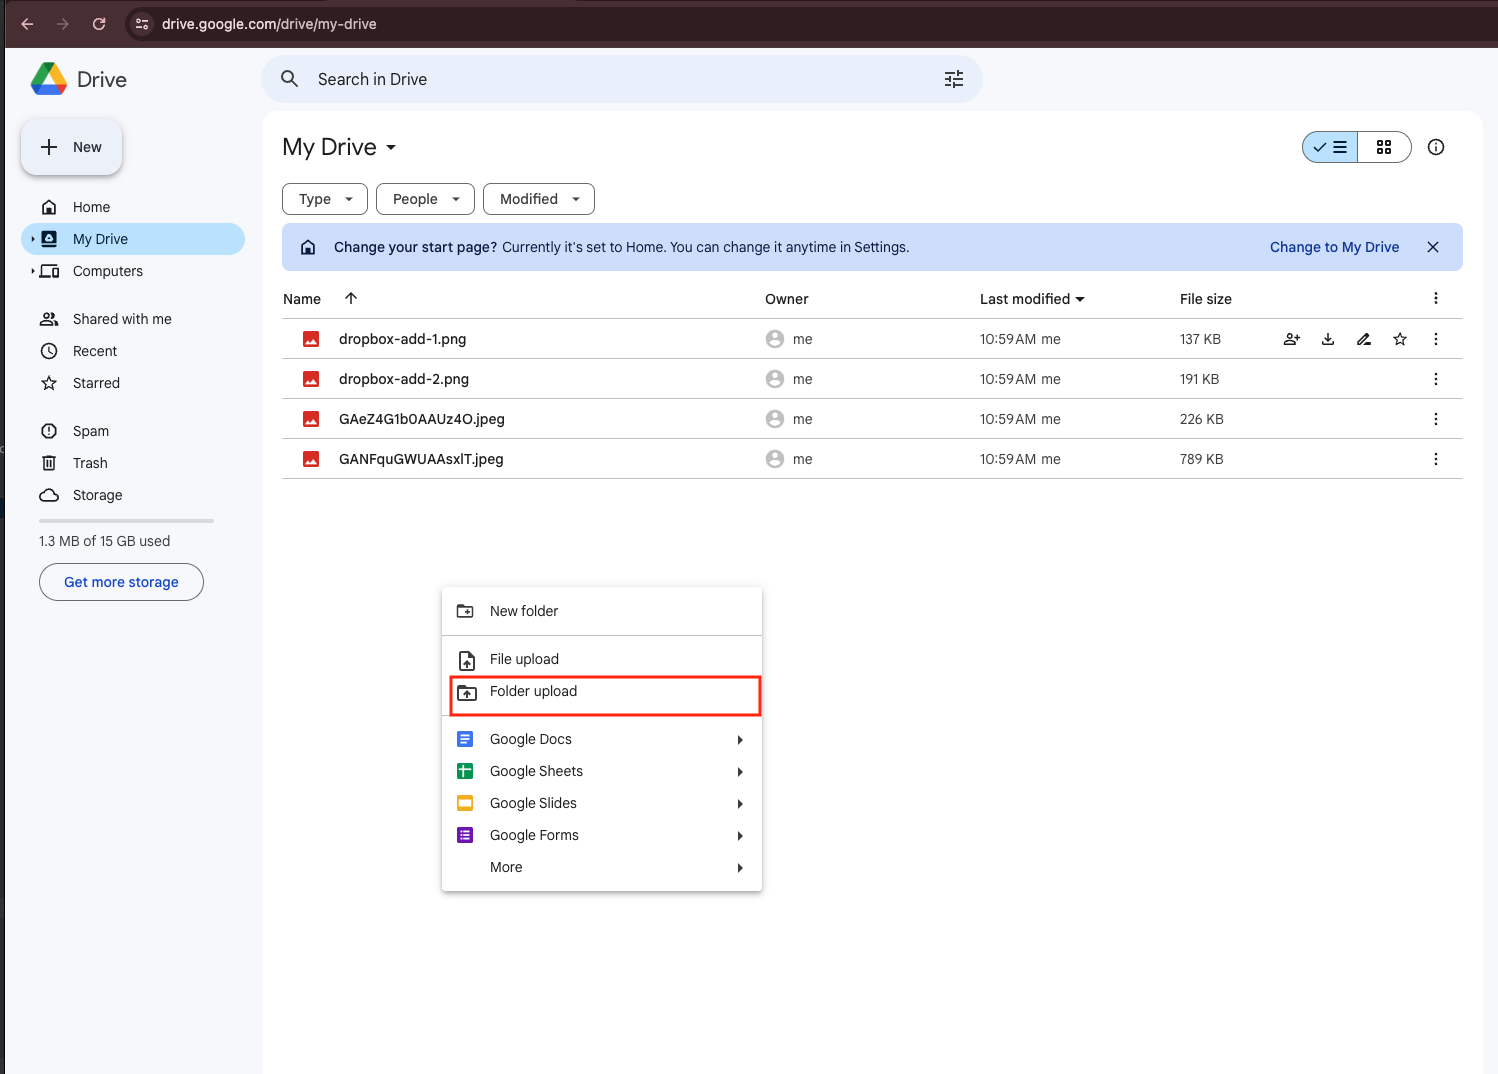
Method 1: Download and Upload Files Manually
Step 1: Download Files from pCloud
Start by opening the
pCloud web interface
and signing in to your account. Browse to the folders that contain the files you plan to move into
SharePoint. You can download individual files or select multiple items at once using
Ctrl on Windows or Command on macOS.
After selecting your files or folders, choose the download option. If an entire folder is downloaded, pCloud normally compresses it into a single archive file. Once the download completes, extract the contents so everything is ready for uploading into SharePoint.
⬇️ First, save your files locally from pCloud

Step 2: Upload Files to SharePoint
Next, open your SharePoint site in a browser and head to the specific document library where your files should live. Use the Upload button or simply drag and drop your files into the library window to begin transferring them.
This step is also a good moment to tidy up your structure—SharePoint organizes data differently from pCloud, so arranging folders in a way that matches team sites or project libraries can make future collaboration much smoother.
⬆️ Then upload your files into the right SharePoint document library
This approach is perfectly suitable if you only need to move a small collection of files or perform occasional migrations. However, for larger data sets or situations where long uploads are inconvenient, automated tools or a cloud-to-cloud transfer solution may save considerable time and effort.
Method 2: Command-Line Transfer with Rclone
Step 1: Install Rclone and Configure pCloud & SharePoint Remotes
If you’re comfortable working with a command-line environment, rclone provides an extremely powerful way to move files between cloud storage platforms. It supports both pCloud and Microsoft SharePoint, allowing direct transfers without relying on browser uploads or downloads.
First, download the latest version of rclone from the official website and install it on your machine.
Once installed, open your terminal (or Command Prompt on Windows) and run
rclone config. This launches an interactive setup wizard where you can create
individual “remotes” for each cloud service.
-
pCloud remote:
When rclone asks you to select a storage provider, choose
pcloud. You will then authenticate using your pCloud account credentials. After confirmation, rclone creates a remote (for example,pcloud:) that gives you access to your pCloud files through the command line. -
SharePoint remote:
For SharePoint, select
onedriveas the backend. During setup, rclone will ask what type of Microsoft storage you are configuring—choose SharePoint. After signing in with your Microsoft 365 account, rclone lists your available SharePoint sites and document libraries so you can bind the remote to the correct destination.
Step 2: Start the Transfer
Once both connections are configured, you can begin copying files from pCloud to SharePoint using standard rclone commands. A typical copy operation might look like this:
rclone copy pcloud:/Projects sharepoint:/SharedDocuments/Projects --progress
This example transfers everything from the Projects folder in pCloud to
the matching SharePoint document library. If you want SharePoint to continuously mirror the
source location instead of just copying, you can use a sync command:
rclone sync pcloud:/Archives sharepoint:/Archives --progress --exclude "*.tmp"
Before executing large migrations, it’s wise to include --dry-run.
This lets you preview what will happen without modifying or deleting anything.
This method is ideal for users who need automation, precision control, or recurring transfers. Rclone supports scheduling, detailed filtering rules, bandwidth management, and hands-free execution via cron or Windows Task Scheduler. The only real downside is that the initial configuration can feel technical—especially when mapping the right SharePoint site and document library—but once it’s set up, it becomes incredibly efficient for ongoing tasks.
Method 3: Cloud-to-Cloud Transfer with CloudsLinker
Overview: Move Files from pCloud to SharePoint Online
CloudsLinker allows you to transfer files directly from pCloud to Microsoft SharePoint without routing anything through your local computer. Once a transfer is launched, it runs entirely in the cloud and continues working even if your browser is closed or your device goes offline.
Step 1: Connect pCloud as the Source
Log in to app.cloudslinker.com and open your dashboard. Select Add Cloud, then choose pCloud from the supported service list.
Authorize your pCloud account by signing in and granting access. Once connected successfully, pCloud will appear in your cloud list and can be selected as the source location for the migration.

Step 2: Add SharePoint as the Destination
Next, add Microsoft SharePoint as your target platform. Sign in using your Microsoft 365 account and confirm the SharePoint site where your files should be stored.
If the site contains multiple document libraries, CloudsLinker will let you choose which one should receive the transferred files. That library then becomes your default destination.

Step 3: Select Files and Define the Destination Path
Go to the Transfer section. On the left side, choose pCloud and select the folders or files you want to migrate. On the right side, choose your connected SharePoint account and specify the exact folder where the data should be placed.
This is the point where you can decide how your pCloud structure will map into SharePoint. If you want files to land in a different layout, adjust it now before starting the task.

Step 4: Start the Transfer and Track Progress
Start the task, and you can follow the migration in real time from the task panel. CloudsLinker shows progress updates, file counts, and any transfer exceptions. You can also pause and resume tasks if needed.
Once the migration completes, you’ll receive a summary showing which items were transferred successfully. Your files will then be available inside SharePoint, ready for collaboration and team access.
If you’re managing a large migration, handling business files, or simply prefer a hands-off workflow, CloudsLinker offers a practical, fully online way to move data from pCloud to SharePoint without consuming your local bandwidth or keeping a browser session active.
Need to Transfer Between Other Cloud Platforms?
Beyond SharePoint, CloudsLinker supports migration across many well-known cloud storage services such as OneDrive, Box, WebDAV, MEGA, and more — all without requiring your computer to stay online during the transfer.
Comparing Three Ways to Transfer Files from pCloud to SharePoint
When you need to move files from pCloud to Microsoft SharePoint, there isn’t a single method that fits everyone. The best choice depends on how much data you’re migrating, whether you prefer automation, and how much technical setup you’re comfortable handling. The table below gives a practical comparison of three commonly used approaches.
| Method | Ease of Use | Transfer Speed | Best Suited For | Uses Local Bandwidth | Technical Skill |
|---|---|---|---|---|---|
| Manual Download & Upload | ★★★★★ | ★★★☆☆ | Small folders or occasional migrations | Yes | Beginner |
| Rclone (Command Line) | ★★★☆☆ | ★★★★☆ | Automation or repeatable transfers | Yes | Advanced |
| CloudsLinker (Cloud-to-Cloud) | ★★★★★ | ★★★★★ | Large datasets or unattended migrations | No | Beginner |
For smaller workloads, downloading files from pCloud and uploading them into SharePoint through your browser is often the fastest way to get started. Rclone becomes more appealing when you want precise control, such as setting filters or scheduling tasks, although it does require some confidence with command-line tools and local system resources.
When your migration involves a lot of data or you’d like the process to run without occupying your computer, a cloud-based solution like CloudsLinker has a clear advantage. Transfers happen entirely online, avoiding local bandwidth limits and continuing even if you close your browser.
Moving data from pCloud to Microsoft SharePoint is usually straightforward, but a bit of planning can help avoid surprises—especially when shared folders, account permissions, or very large directories are involved.
- Confirm Access to All pCloud Content: Make sure you have permission to access every folder you intend to move. Restricted or shared folders may require proper authorization before transferring.
- Plan the SharePoint Structure First: SharePoint uses sites and document libraries rather than a simple folder tree. Deciding where your content should live in advance helps keep everything organized after the migration.
- Consider How the Transfer Will Run: Manual uploads and rclone operations depend on your local network and device availability. For unstable connections or multi-hour migrations, a cloud solution like CloudsLinker can complete the process entirely online.
- Review File Size and Naming Rules: Although SharePoint supports large files, unusual characters, extremely long paths, or deeply nested folders may still create issues. Reviewing them beforehand helps avoid interruptions.
- Verify SharePoint Permissions: Ensure your Microsoft 365 account has upload rights to the correct site and library. Missing permissions are one of the most common reasons migrations fail.
- Think About Future Needs: If you expect to migrate data more than once, features like retry handling, detailed logging, and unattended execution become especially valuable.
Spending a little time preparing can make the process significantly smoother. Understanding how SharePoint organizes files—and choosing the right migration method for your data size and workflow—goes a long way toward a trouble-free move from pCloud to SharePoint.
pCloud to SharePoint Migration FAQ
Step-by-Step Video: Transfer pCloud Files to SharePoint
Watch this guided tutorial to learn how to seamlessly migrate your files from pCloud to Microsoft SharePoint. The video shows how to authorize accounts, set up automated transfers, handle large folders smoothly, and avoid common sync issues — all done directly in the browser without consuming your local bandwidth.
Conclusion
There is no universally perfect solution for moving files from pCloud to SharePoint. The most suitable method depends largely on how much data you need to migrate, how comfortable you are with technical tools, and whether you want to avoid using your local computer for handling large transfers. Downloading and uploading manually works well for small, simple migrations and occasional moves. Rclone appeals to users who like automation and scripting, provided they are willing to spend some time configuring it. For larger workloads or business-level migrations, a dedicated cloud-to-cloud platform such as CloudsLinker offers a far smoother experience by moving files directly online and reducing both effort and risk. Ultimately, the right choice comes down to convenience, scale, and how much control you want during the transfer process.
Online Storage Services Supported by CloudsLinker
Transfer data between over 48 cloud services with CloudsLinker

OneDrive

Google Drive

Google Photos

Shared Drive

OneDrive for Business

Dropbox

Box

Mega

pCloud

Yandex

ProtonDrive

AWS

GCS

iDrive

Storj

DigitalOcean

Wasabi

1fichier

PikPak

TeleBox

OpenDrive

Backblaze B2

Fastmail file

SharePoint

Nextcloud

ownCloud

Premiumize me

HiDrive

Put.io

Sugar Sync

Jottacloud

Seafile

Ftp

SFtp

NAS

WebDav

4shared

Icedrive

Cloudflare R2

Scaleway

Doi

iCloud Drive

iCloud Photos

FileLU

Zoho WorkDrive

Telia Cloud / Sky

Drime

Filen
Didn' t find your cloud service? Be free to contact: [email protected]
Further Reading
Effortless FTP connect to google drive: Transfer Files in 3 Easy Ways
Learn More >
Google Photos to OneDrive: 3 Innovative Transfer Strategies
Learn More >
Google Photos to Proton Drive: 3 Effective Transfer Techniques
Learn More >