TeraBox to iCloud Drive: Fold Your Files Back Into the Apple Ecosystem
Move TeraBox files to iCloud Drive so they show up in Finder, the Files app, and across your iPhone, iPad and Mac. Browser, Finder bridge, or CloudsLinker.
Introduction
iCloud Drive surfaces files directly in Finder on a Mac and in the Files app on iPhone and iPad, syncing them across every device signed into the same Apple Account — the kind of native presence TeraBox cannot offer, since it lives only in its own app and website. If you use Apple devices day to day but stashed a pile of files on TeraBox for the free space, those files sit outside everything else you own. Moving them into iCloud Drive puts them where the rest of your documents already are. TeraBox has no OAuth API, so the export depends on its browser cookie, and iCloud connections require an Apple Account with two-factor authentication. This guide covers a browser download, a macOS Finder bridge, and a cloud-to-cloud transfer with CloudsLinker.
TeraBox is a consumer file locker from Flextech Inc. It lives entirely in its own app and website, with no integration into macOS, iOS, or the Files app.
- Free quota: 1 TB advertised; ~80 GB practical (20-file cap).
- Apple integration: none beyond the standalone iOS app.
- Free download: ~100–531 KB/s, one file at a time.
- Per-file cap: 4 GB free / 20 GB Premium.
- Access: browser cookie (
ndus,ndut_fmt); no OAuth.
iCloud Drive is Apple's storage service, integrated into Finder, the Files app, and Apple Account sync. The free tier is 5 GB; iCloud+ scales to 12 TB.
- Native presence: appears in Finder and the Files app automatically.
- Cross-device sync: same files on Mac, iPhone, iPad.
- Desktop & Documents sync: optional folder syncing on Mac.
- Free tier: 5 GB shared with Photos, Mail, backups.
- Access: Apple Account + two-factor authentication.
TeraBox offers far more free space; iCloud Drive offers something space cannot buy on an Apple device — the files simply being there, in Finder and the Files app, without opening a separate program.
| Feature | TeraBox | iCloud Drive |
|---|---|---|
| Free quota | 1 TB advertised; ~80 GB practical | 5 GB shared with Photos, Mail |
| Apple device integration | Standalone app only | Native in Finder and Files app |
| Cross-device sync | Manual via app | Automatic across Apple Account |
| Per-file cap | 4 GB free / 20 GB Premium | ~50 GB on iCloud+ |
| Third-party access | Browser cookie only | Apple Account + 2FA |
On the TeraBox side
- Pick the files you want on your devices: documents you reference often benefit most from sitting in Finder and Files; bulk media may not be worth the 5 GB pressure.
- Keep the session live: every method depends on a current cookie or login.
- Note files over Apple's per-file behavior: iCloud Drive handles large files, but a 5 GB free tier fills fast — size your selection accordingly.
On the iCloud side
- Confirm capacity: a free 5 GB iCloud will not hold much. An iCloud+ plan (50 GB, 200 GB, 2 TB) is usually needed for a real import.
- Enable Access iCloud Data on the Web in Apple Account → Sign-In & Security if you plan to use CloudsLinker.
- Create a target folder in iCloud Drive such as
TeraBox-Import.
Method 1: Browser Download from TeraBox, Upload to iCloud Drive
Step 1: Download from TeraBox
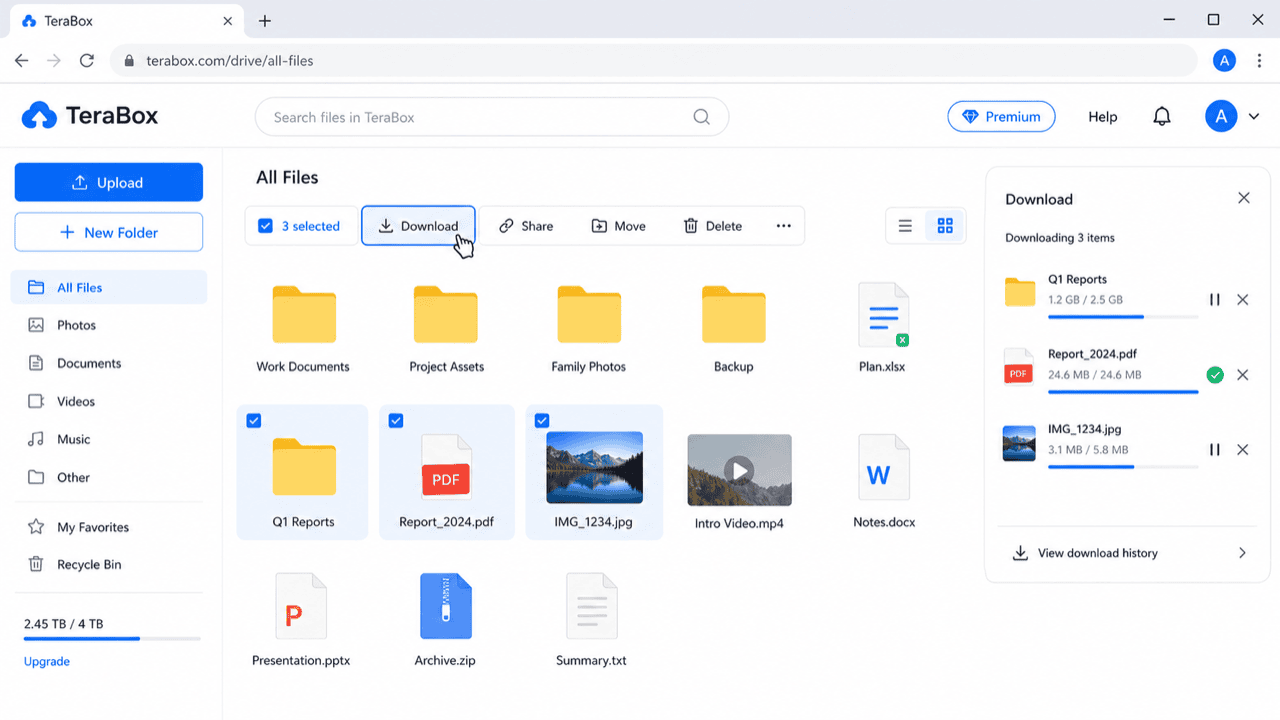
Sign in at terabox.com and download your files. Free-tier downloads are serialized one at a time, so start with the documents you most want on your devices.
Step 2: Upload to iCloud Drive
Open iCloud.com/iclouddrive, open your target folder, and drag the files in — or, on iPhone/iPad, use the Files app to upload into iCloud Drive. The files then appear on every device signed into your Apple Account.
Method 2: macOS Finder as a Bridge
Best for Mac users who want everything synced across devices
On a Mac, iCloud Drive is a Finder location. Drop TeraBox downloads into it and macOS syncs them to your iPhone, iPad, and other Macs automatically.
Step 1: Download from TeraBox to the Mac
Use the TeraBox desktop app or browser to download your files into a local folder on the Mac. For a large set, the desktop app handles the serialized free-tier queue more steadily.
Step 2: Move Them Into iCloud Drive in Finder
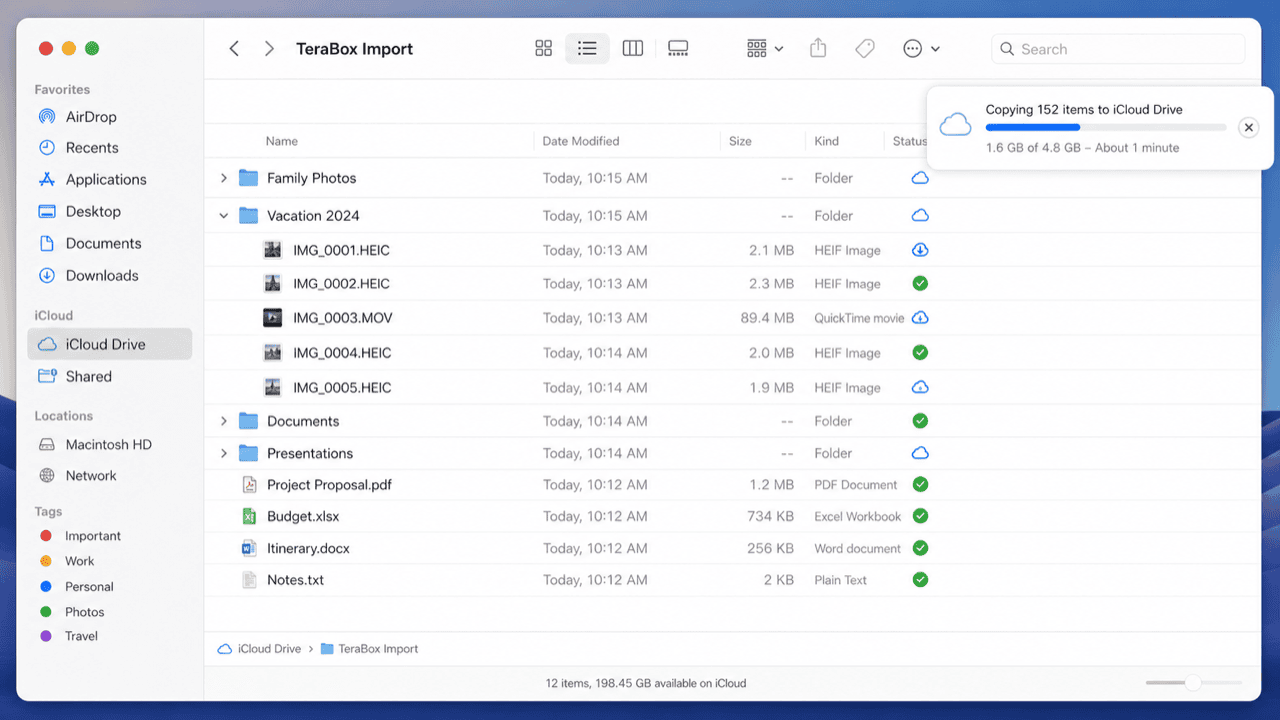
Open Finder, go to iCloud Drive in the sidebar, and move the downloaded files
into your TeraBox-Import folder there. macOS uploads and syncs them. With
Optimize Mac Storage on, local copies can be offloaded once synced, keeping
disk use low.
Method 3: Cloud-to-Cloud Transfer with CloudsLinker
Move It Server-Side, No Mac Required
CloudsLinker reads from TeraBox by cookie and writes into iCloud Drive using your Apple Account with two-factor authentication. The job runs server-side and retries through TeraBox's throttle — useful when you do not want to tie up a Mac, or do not have one handy.
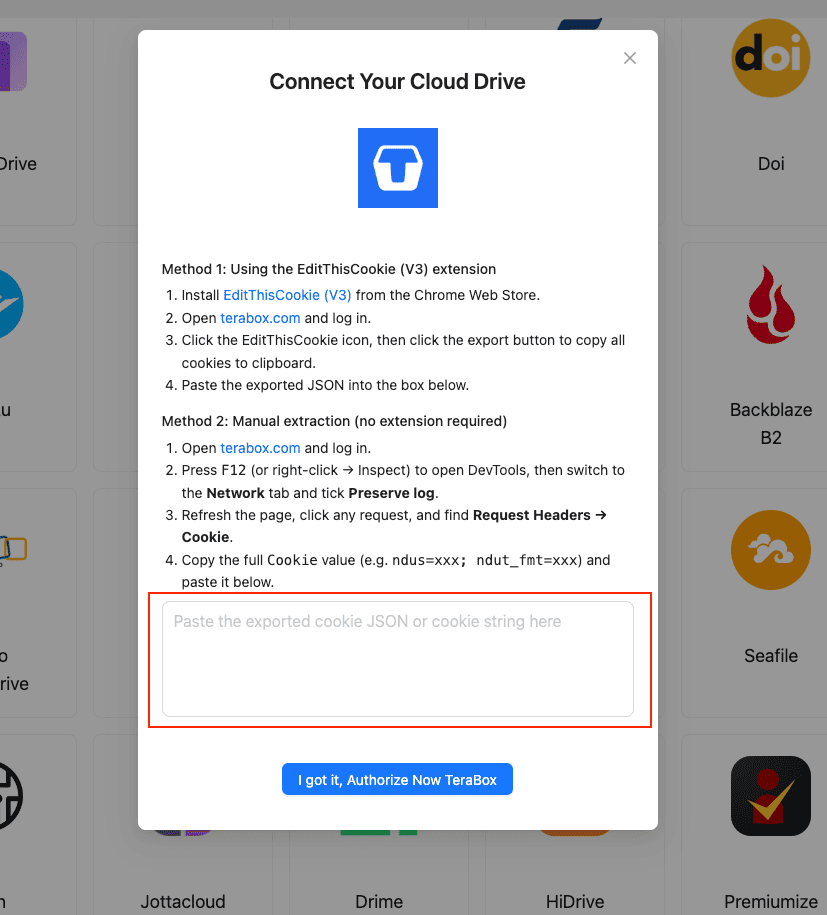
Step 1: Connect TeraBox (Browser Cookie)
In CloudsLinker, click Add Cloud → TeraBox and supply the session cookie:
- Install EditThisCookie (V3) in Chrome.
- Open
www.terabox.comin the same browser, signed in. - Click EditThisCookie → Export to copy the cookie JSON.
- Paste it into CloudsLinker and confirm.
Or copy the Cookie header (ndus=...; ndut_fmt=...) from DevTools
(F12) → Network.
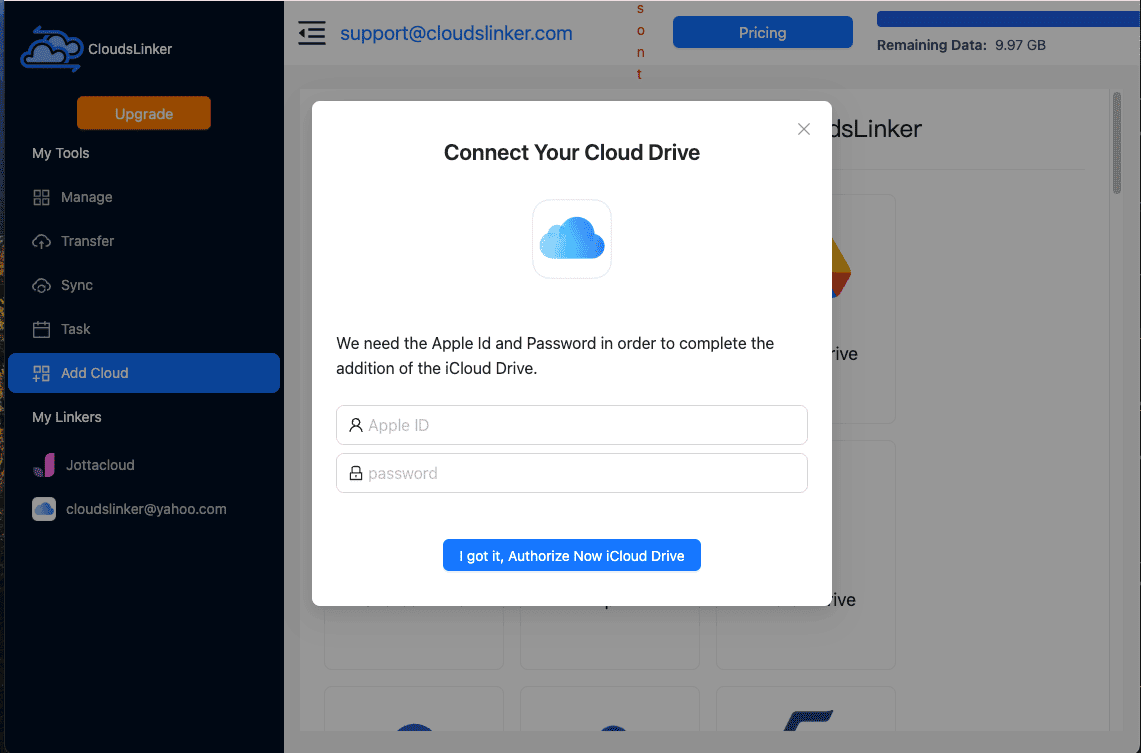
Step 2: Connect iCloud Drive
Click Add Cloud → iCloud Drive. Enter your Apple Account and password, then the 6-digit verification code from a trusted Apple device. Make sure Access iCloud Data on the Web is enabled in your Apple Account settings, or the connection cannot read iCloud Drive.
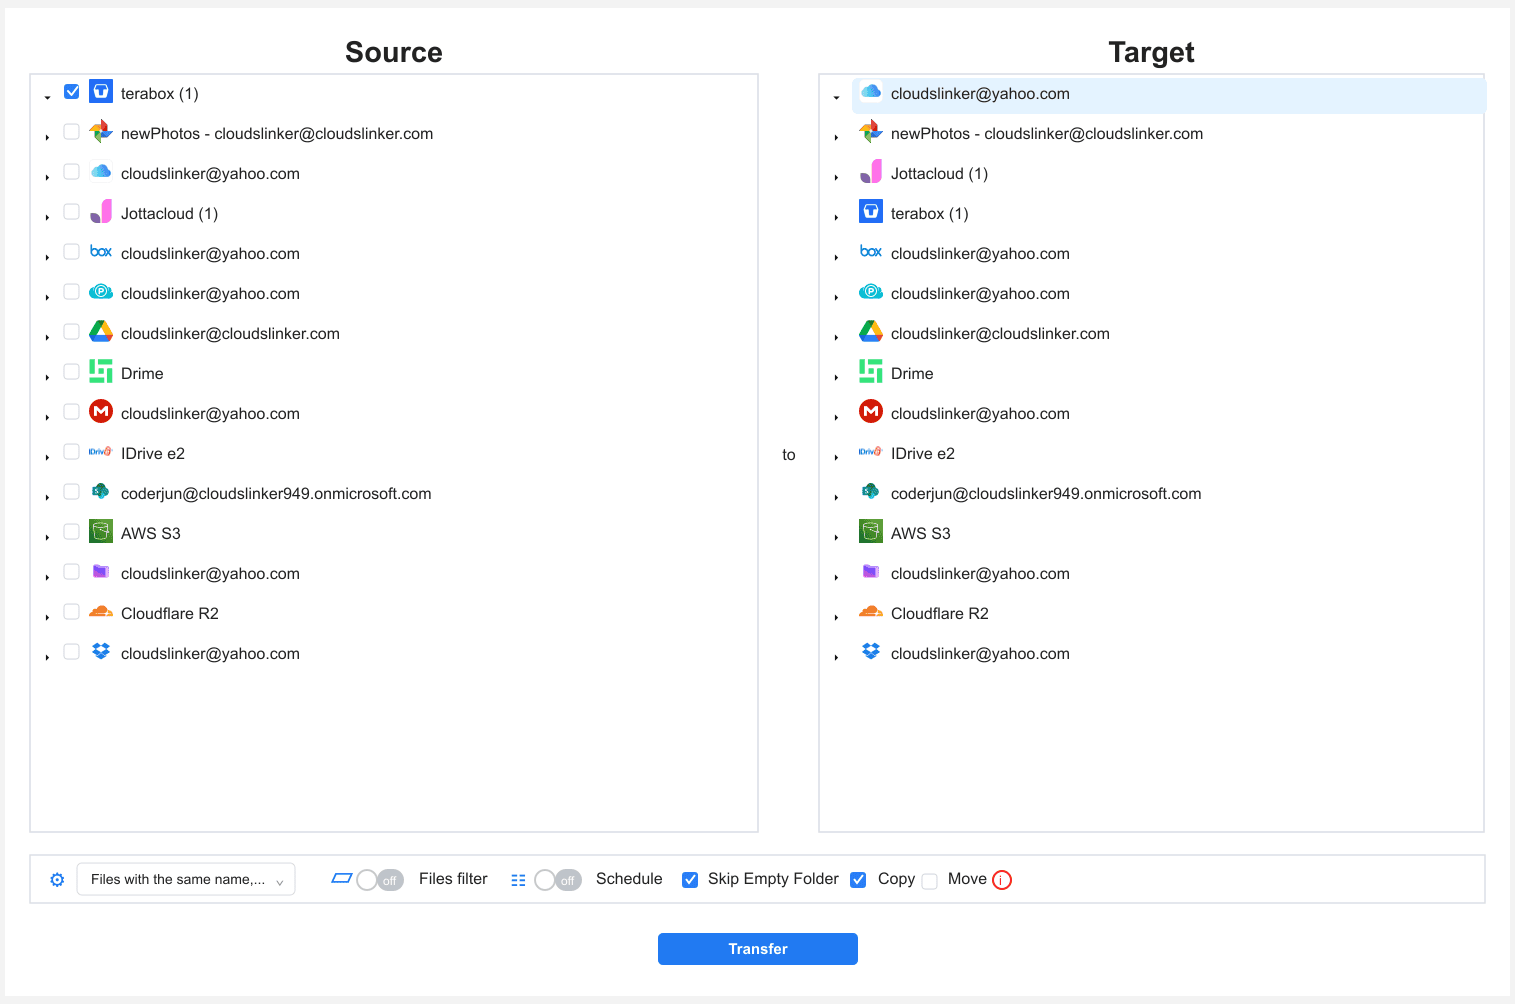
Step 3: Configure the Transfer
In the Transfer section, set TeraBox as the source and
iCloud Drive as the destination with your TeraBox-Import folder. Filter
by type, size or date to pull only what you want syncing across devices. Copy mode
keeps TeraBox intact until iCloud is verified.
Step 4: Start and Monitor
Start the task and watch the Task List. If the TeraBox cookie expires, the task pauses for a fresh one. Once complete, the files appear in Finder and the Files app across your Apple devices — verify a sample before deleting anything from TeraBox.
Method Comparison
| Method | Ease of Use | Speed | Best For | Uses Local Bandwidth | Skill Level |
|---|---|---|---|---|---|
| Browser Download + Upload | ★★★★☆ | ★★☆☆☆ | A few files, any platform | Yes | Beginner |
| macOS Finder Bridge | ★★★☆☆ | ★★★☆☆ | Mac users wanting cross-device sync | Yes | Intermediate |
| CloudsLinker | ★★★★★ | ★★★★☆ | Large libraries, no Mac needed | No | Beginner |
- Right-size against the 5 GB free tier: iCloud's free space is shared with Photos, Mail, and device backups. A real import almost always needs an iCloud+ plan — confirm before starting.
- Turn on Access iCloud Data on the Web: CloudsLinker depends on this setting. If the iCloud connection fails, this is the usual cause.
- Use Optimize Mac Storage for big imports: on the Finder method, this offloads local copies once synced, so a large library does not fill the Mac's drive.
- Keep documents, reconsider bulk media: files you reference across devices are the best fit; large video archives may be better left elsewhere given the 5 GB pressure.
- Refresh the cookie before long jobs: re-login to TeraBox right before exporting the cookie for CloudsLinker.
- Verify on a second device: after the move, open the Files app on your iPhone to confirm the import synced before deleting the TeraBox copy.
Frequently Asked Questions
Conclusion
For a few files, the browser download into iCloud.com or the Files app is the simplest path. Mac users can stage TeraBox downloads in Finder and let iCloud Drive sync them to every Apple device. For a larger library, CloudsLinker connects TeraBox by cookie and iCloud Drive by Apple Account with two-factor authentication, moving data server-side and retrying through TeraBox's throttle. The payoff is presence: once in iCloud Drive, the files appear in Finder, the Files app, and Spotlight alongside everything else, instead of in a separate app you have to remember to open.
Online Storage Services Supported by CloudsLinker
Transfer data between over 51 cloud services with CloudsLinker

OneDrive

Google Drive

Google Photos

Shared Drive

OneDrive for Business

Dropbox

Box

Mega

pCloud

Yandex

ProtonDrive

AWS

GCS

iDrive

Storj

DigitalOcean

Wasabi

1fichier

PikPak

TeleBox

OpenDrive

Backblaze B2

Fastmail file

SharePoint

Nextcloud

ownCloud

Premiumize me

HiDrive

Put.io

Sugar Sync

Jottacloud

Seafile

Ftp

SFtp

NAS

WebDav

4shared

Icedrive

Cloudflare R2

Scaleway

Doi

iCloud Drive

iCloud Photos

FileLU

Zoho WorkDrive

Telia Cloud / Sky

Drime

Filen

TeraBox

Internxt

Degoo
Didn' t find your cloud service? Be free to contact: [email protected]
Further Reading
Effortless FTP connect to google drive: Transfer Files in 3 Easy Ways
Learn More >
Google Photos to OneDrive: 3 Innovative Transfer Strategies
Learn More >
Google Photos to Proton Drive: 3 Effective Transfer Techniques
Learn More >